Showing posts with label project. Show all posts

Wednesday, January 15, 2020

Baby's Christening Gown Shadow Box

Hello my lovely berries!


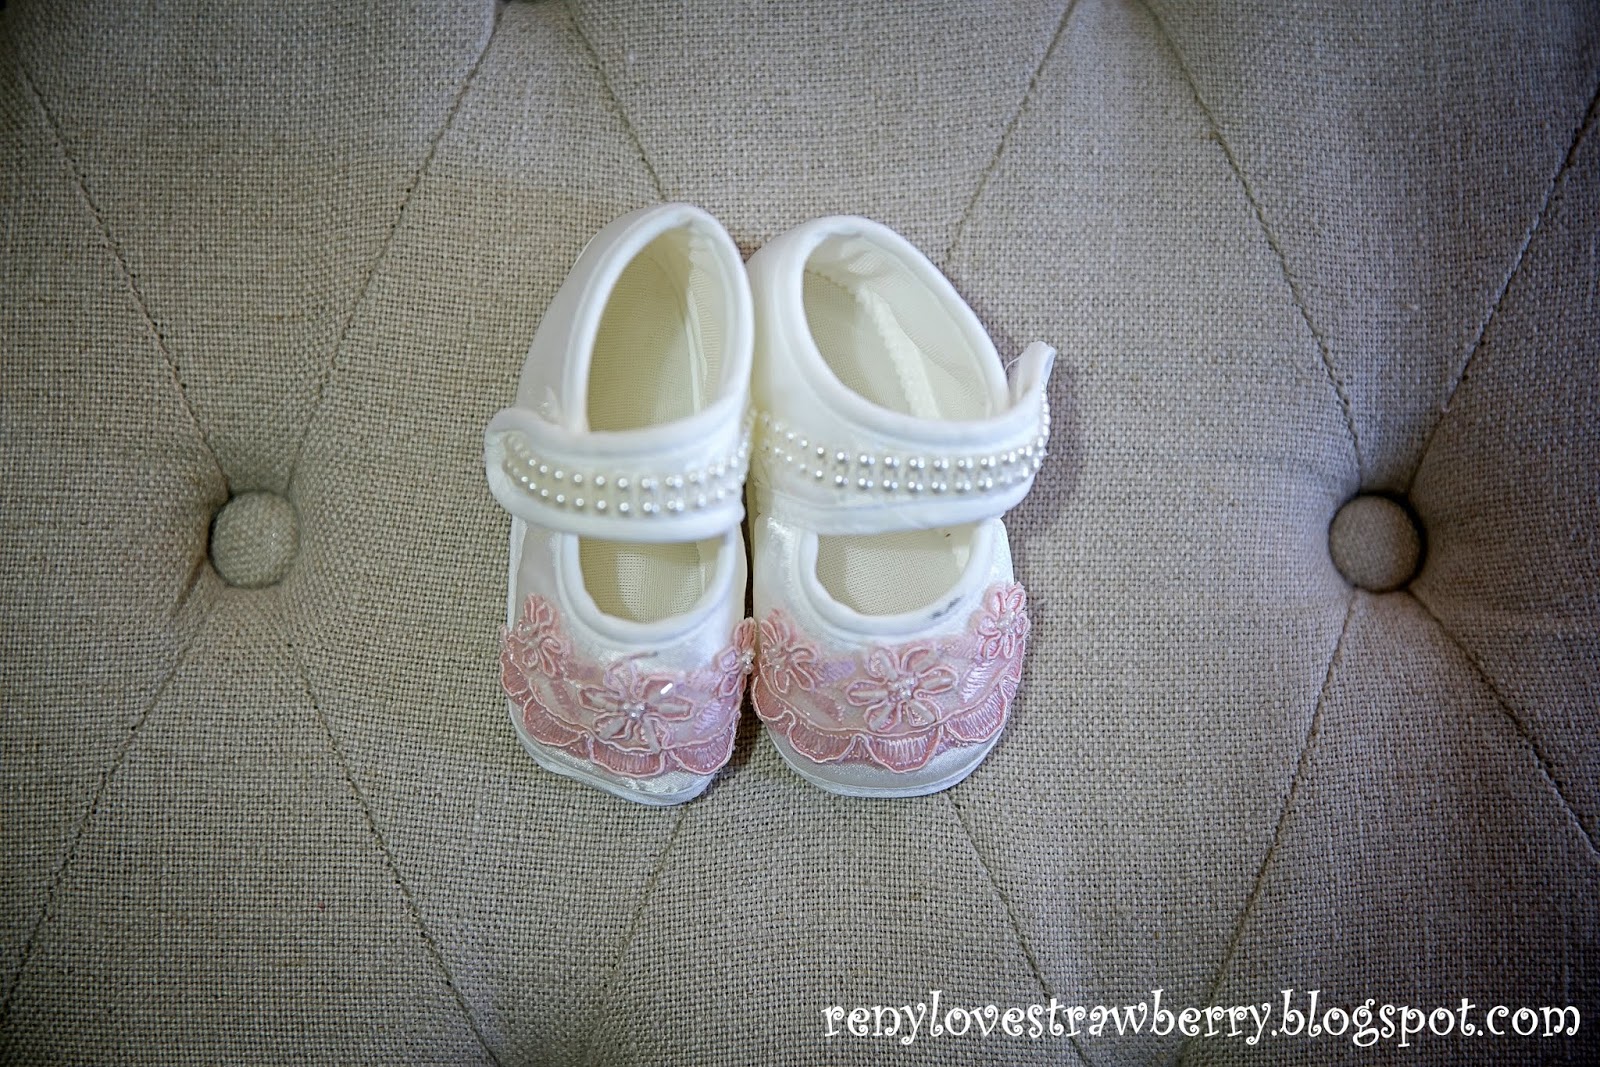
        Today I want to share with you a cute way to display you're baby's clothes once they've grown out of them. In my case, I made a shadow box with my daughter's christening outfit. I know many moms out there are saving their favorite little one's outfit in a drawer or a box somewhere. But I really wanted to put it on display, to be able to enjoy it and bring back memories every time I see it. And you only need the outfit of your choise and a frame from Ikea (RIBBA frame, 50x50cm). I really love the final result!

Hope you're having an amazing day!

Wednesday, June 14, 2017

DIY Hidden Kinder Surprise Egg Message

Hello my lovely berries!

       Lots of people have been asking me lately if I am pregnant? Well . . . No, I'm only chocolate and ice cream pregnant! ^_^ So I made a hidden surprise egg message for my hubby. It was so much fun to make and his reaction was so funny. 
        And now I want to show you how to personalize a Kinder Surprise egg with a small gift of your choice. I decided to put a Reny-like message in the little egg surprise.


What you need:
- Kinder Surprise egg (obviously) 
- a knife
- a heating source (I used hot water)

Let's get started!
Step 1. Start by gently pelling off the aluminum foil from the egg. 

Step 2. Open the chocolate egg in half and take the toy out.

Step 3. Write your special message or use other surprise gift. 

Step 4. Roll up the message and introduce it in the yellow container. 

Step 5. Pour hot water over a knife to melt the edges slightly. Place the container inside and quickly seal the shell with the other half while the edges are still melted. 


Step 6. Here come the most difficult part. Carefully wrap your chocolate egg as if it had never been opened. 

Step 7. We are done! Now give the gift to somebody and wait for the reaction! ^_^ 

        And I also thought I'll make a little video! So check it out, please!


Thursday, March 2, 2017

DIY Tissue Paper Flower Wreath

Hello my cuties!
           This beautiful tissue paper flower wreath is so simple to make and it's a bright and colorful project perfect for spring!

Supplies:

To make these flowers, first you have to take a few layers of square tissues. 

Then stample in the middle so that you will see a plus sign.

Cut the layered square in a circle and make cuts along the edge of the circle. 

After that using your fingers bring the circles towards the centre to form the ruffles. 

Make more and glue these flowers to the wreath. (I made mine from cardboard) 


Have a lovely spring and enjoy crafting!

Thursday, February 23, 2017

Mickey Mouse 1st Birthday Party: DIY Disney Paper Chain

Hello my sweet friends!

       If you are also planning a Disney theme party, this creative Mickey Mouse paper chain is perfect for you. This was so easy to make, and today I'm showing you the do it yourself steps.


Let's get started!
       First I gathered supplies and cut up black, red, white and yellow paper strips. 

       Start gluing your chain pieces together. You want to go in this order so that it looks like Mickey Mouse: black chain, red chain, white chain, yellow chain. 

       To make the ears I used a heart cuter. I punched out the heart, cut it in half and glue it to the black chain. Then glue on two white dots to every red stripe.


I just love the result! Hope you try this out!

Tuesday, February 21, 2017

Mickey Mouse 1st Birthday Party: DIY Paper Fan Centerpiece

Hello my lovely friends!

      Today I want to share with you this super easy, but effective Mickey Mouse centerpiece from my godson's first birthday party. 


Supplies:
- scrapbook paper
- hot glue gun
- glue
- grill sticks
- cups
- scissors
- pen
- Mickey Mouse ears

Let's get started!
1. To create the fan I used 3 scrapbooking papers. Fold each of your 3 scrapbooking pages in an accordion fold. Then take a paper that has been folded and fold it in half. Now glue the inside of the fold. Repeat with the other 2 papers.

Glue the inside edges of the fan to connect it all together. Then glue the grill stick to the fan.

Now glue the Mickey ears in the middle of the fan.


2. To create the number and the name toppers, we need to cut out two pieces of paper and then, using the red pen write down the number 1 (1st birthday) and the name (in my case Lucas). 

Glue the stick to the paper.

3. Now that we have everything ready for the centerpiece, let's put it all together!

Glue all the sticks to the cup. Then add some tissue paper for a final touch.

And we are done! 

Hope you have an amazing day! Take care!